

After a lot of searching and grimacing on my part, I finally realized that buying a garter for my upcoming wedding was out of the question. I refused to pay $50 for elastic and hideous lace. I just don't see why it is so difficult to produce something cheap and sexy. A garter is supposed to be sexy. You don't even have to work that hard.
Anyway, I made my own and I'm gonna show you how you can too!
Inspiration first struck when I came across these lovely garters from jenaeb (and this one too!) on etsy. These are super pretty! But, I'm exceedingly poor and vaguely handy with a sewing machine so I figured buying a garter was beneath me.
Good Lord.
Then I came across these headband and flower making kits at A. C. Moore.


Blue elastic! That's not a funky bridal blue! And pretty, elastic lace! Perfection!
Honestly, these practically make themselves.
Supplies:
-Length of elastic long enough to fit around your thigh (you want it a little smaller so the elastic can stretch and hold it up, but not so small your leg looks like it's having its circulation cut off.)
-Length of lace, preferably stretchy, that is three times as long as your elastic piece
-Matching thread
-Any embellishments desired
-A sewing machine or a good pair of hands (latter not recommended)
First, measure your thigh where you want your garter to go. Cut and sew together. Fortunately mine fit perfectly and didn't need this step. Sorry, no pictures!
Second, pin your elastic lace to your headband. Like so...


Inspiration first struck when I came across these lovely garters from jenaeb (and this one too!) on etsy. These are super pretty! But, I'm exceedingly poor and vaguely handy with a sewing machine so I figured buying a garter was beneath me.
Good Lord.
Then I came across these headband and flower making kits at A. C. Moore.
Blue elastic! That's not a funky bridal blue! And pretty, elastic lace! Perfection!
Honestly, these practically make themselves.
Supplies:
-Length of elastic long enough to fit around your thigh (you want it a little smaller so the elastic can stretch and hold it up, but not so small your leg looks like it's having its circulation cut off.)
-Length of lace, preferably stretchy, that is three times as long as your elastic piece
-Matching thread
-Any embellishments desired
-A sewing machine or a good pair of hands (latter not recommended)
First, measure your thigh where you want your garter to go. Cut and sew together. Fortunately mine fit perfectly and didn't need this step. Sorry, no pictures!
Second, pin your elastic lace to your headband. Like so...

Next, begin sewing and bunching your lace as you go. This will create a ruffled effect and allow room to stretch.
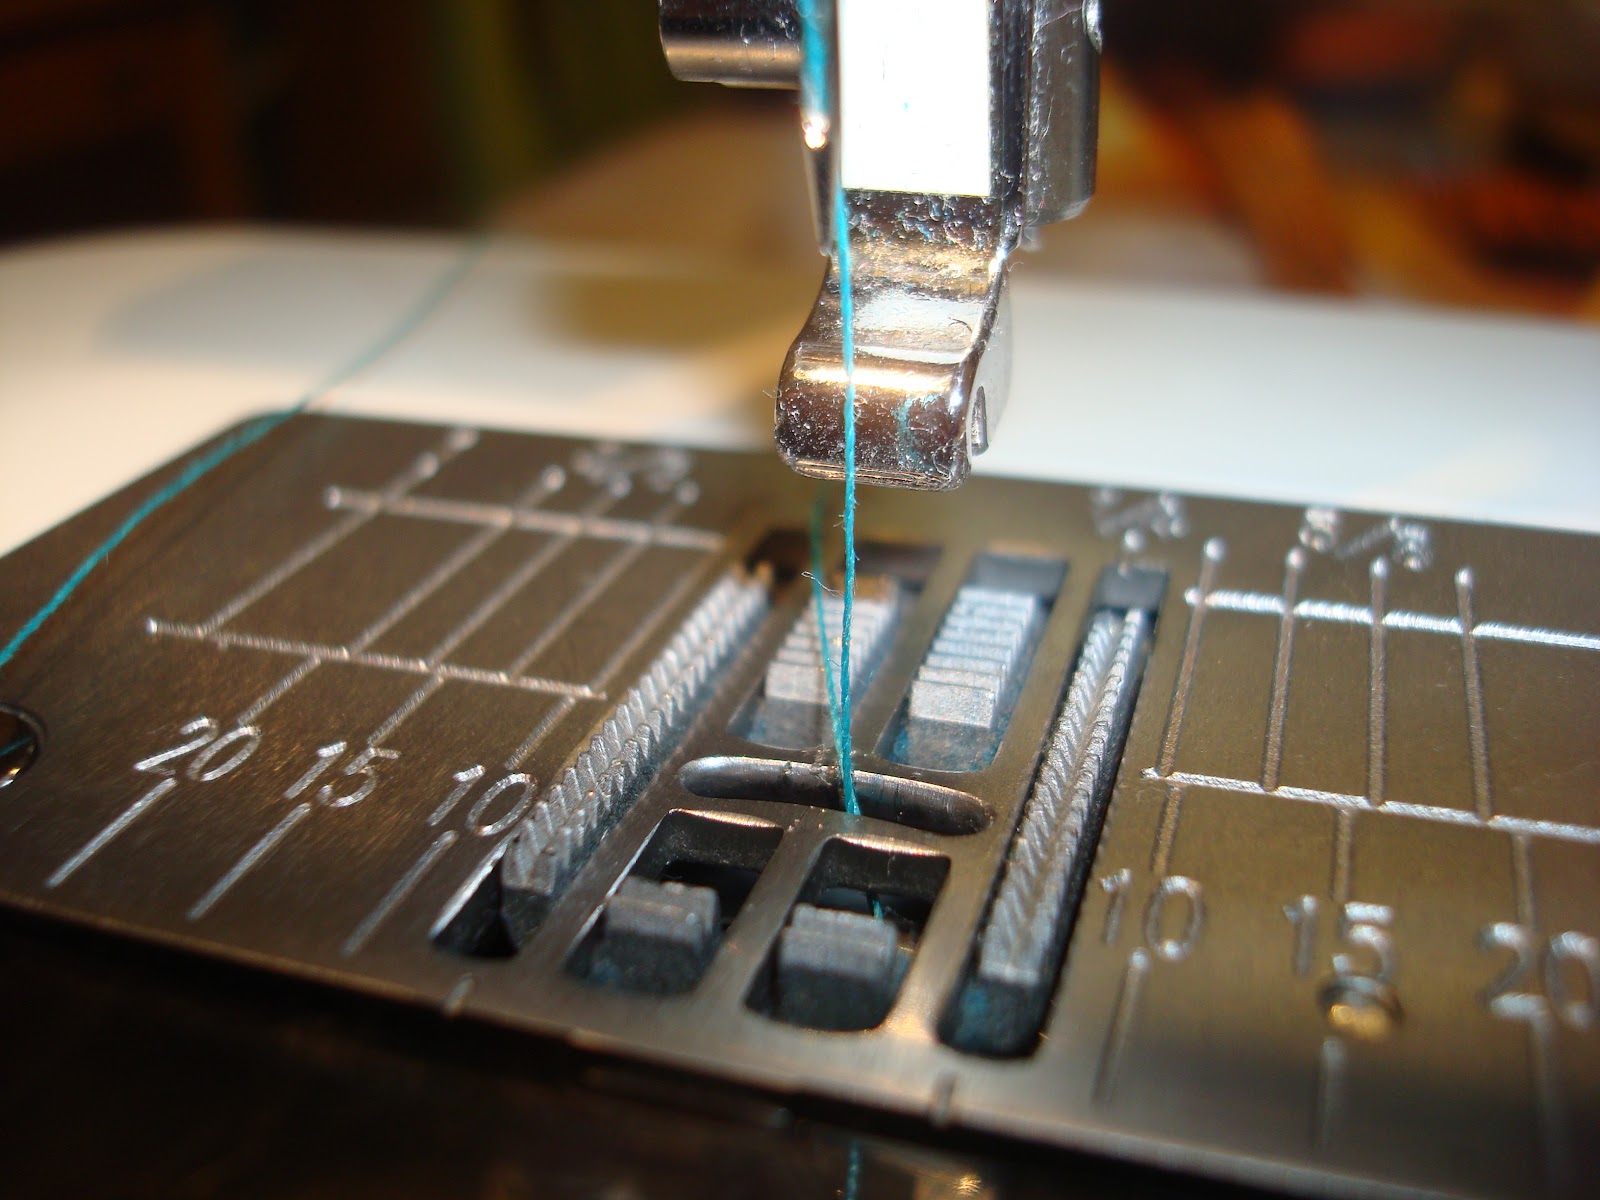
After this step you should have something resembling this...

As you can tell, straight lines are not needed. You also don't need a ton of sewing experience. This was maaaaaybe my third project. It was pretty easy and turned out great!

Unfortunately I ran out of elastic (my ruffling was a tad overzealous). But with my handmade embellishment...

...You can't even tell.
If you are making this for your wedding, make a second "Toss Garter." Slap these babies on and love the fact you made two for $10 (with leftover supplies for several more).
